ASP.NET : Displaying Master-Detail Data on the Same Page
In this tutorial you will learn how to display Master-Detail Data on the same page, To display the master records, To configure a query to display related records and To test the page
Data from related tables can be displayed on one page. The master table data is displayed in a grid and users can select individual rows. When they select a row, one or more details of records are displayed I a scrollable control elsewhere on the page. We shall use the StudentMaster as the master table and the CourseDetails as the details table.
To display the master records
1. Add a new page to the Web site and name it MasterDetails2.aspx.
2. Switch to Design view.
3. Type Master-Detail Page in the page and format the text as a heading.
4. From the Data group of the Toolbox, drag a GridView control onto the page.
5. In the Common GridView Tasks menu, in the Choose Data Source list click < New Data Source > and then use these steps to configure a data source for the GridView control:
…….a. Select Database.
…….b. Click OK.
…….c. From the Choose a data connection list, select the connection you created and stored earlier.
…….d. Click Next.
…….e. From the Name list under Table or View Options, select CourseDetails.
…….f. In the Columns box, check CourseId and CourseName.
…….g. Click Next and then click Finish.
6. Select the GridView control and in the Common GridView Tasks menu, choose Edit Columns.
7. The Fields dialog box is displayed:
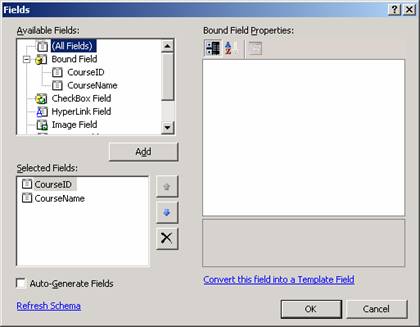
8. Under Available Fields, open the Command Field node, choose Select, and then click Add to add it to the Selected fields list.
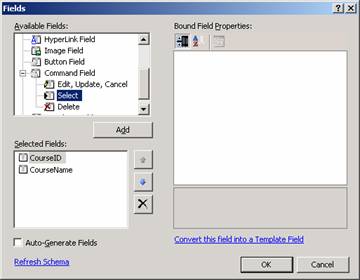
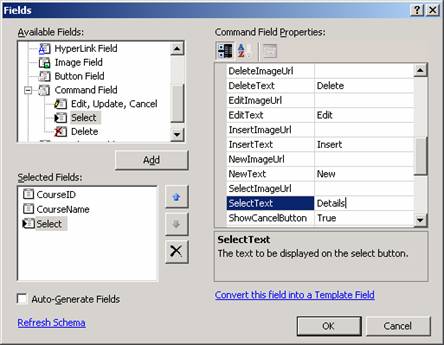
9. In the Selected Fields list, select the new button and then in the property grid, set its SelectText property to Details.
10. Click OK to close the Fields dialog box.
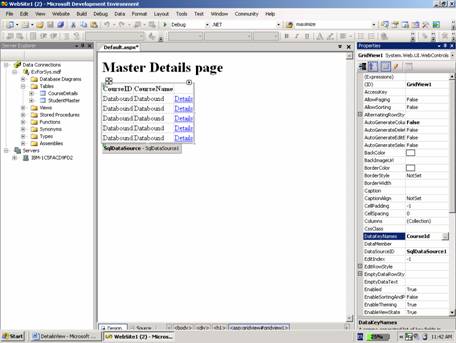
11. A new column with a Details hyperlink is added to the grid.

12. Select the GridView control and in the Properties window, be sure its DataKeyNames property is set to CourseId.
13. This specifies that when a row is selected in the grid, ASP.NET can find the key of the currently displayed Categories record in a known location.
14. The grid allows you to select an individual category. The next step is to add the DetailsView control that will display the detail records — the Student records associated with the selected category. The DetailsView control will use a different SQL query to get its data, so it requires a second data source control.
{mospagebreak}
.
.
To configure a query to display related records
1. Press ENTER to make space underneath the SqlDataSource1 control.
2. From the Data group of the Toolbox, drag a DetailsView control onto the page.
3. Configure it to use a second data source control using the following steps:
…….a. From the Choose Data Source list, select < New Data Source >.
…….b. Select Database.
…….c. Click OK.
…….d. In the Choose a data connection list, click the connection you created and stored
…….earlier in the walkthrough.
…….e. Click Next.
…….f. From the Name list under Table or View Options, select StudentMaster.
…….g. In the Columns box, check StudentId, StudentName and CourseId.
…….h. Click WHERE.
…….The Add WHERE Clause dialog box is displayed:
…….i. From the Column list, select CourseId
…….j. From the Operator list, select =.
…….k. From the Source list, select Control.
…….Under Parameter Properties, in the Control ID list, select GridView1. The query for the
…….second grid will get its parameter value from the selection in the first grid.
…….l. Click Add and then click OK to close the Add WHERE Clause dialog box.
…….m. Click Next.
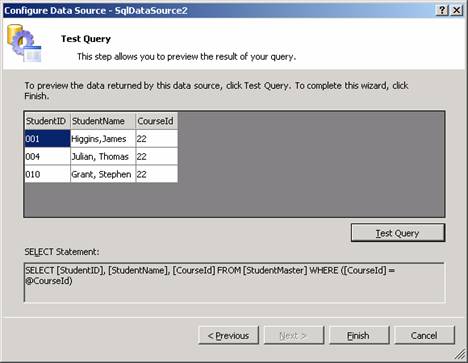
…….n. In the Preview page, click Test Query.
…….The wizard displays a dialog box that prompts you for a value to use in the WHERE clause.
…….o. Type 22 in the box and click OK.
4. The Student records for CourseId 22 are displayed.
5. Click Finish.
6. In the Common DetailsView Tasks menu, check Enable Paging.
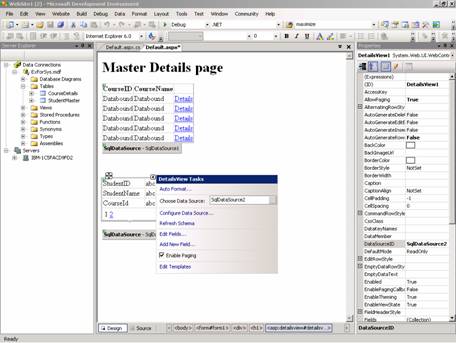
7. This will allow the user scroll through individual Student records.
8. Optionally, in the Properties window, open the PagerSettings node and select a different Mode value.
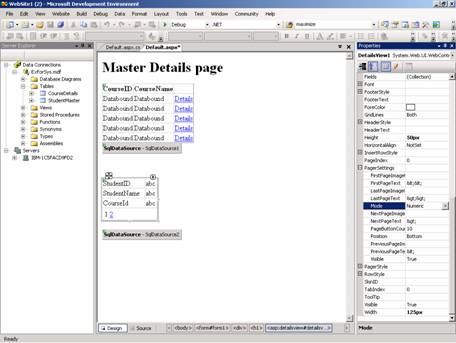
9. By default, you page through records by clicking a page number, but the user can select options to use next and previous links.
10. The page can now be tested.
To test the page
1. Press CTRL+F5 to run the page.
2. In the grid, select a category.
3. The DetailsView control displays a Student record associated with that CourseId.
4. Use the pager links in the DetailsView control to navigate to other student records for the same courseId.
5. In the grid, select a different CourseId.
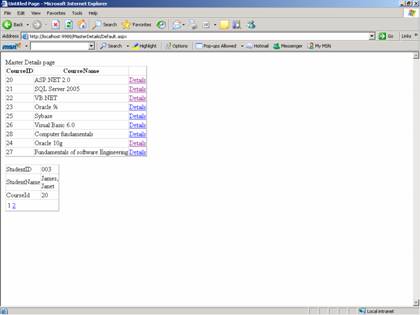
6. Review the Student records for that CourseId in the DetailsView control.
[catlist id=179].