ASP.NET : Setting Application-Level Caching
In this tutorial you will learn how to set application-level caching in ASP.NET 2.0. To Configure and Use Parameter-Level Caching and also the steps involved to cache based on parameters.
Setting Application-Level Caching
To configure application-level caching
1. In Solution Explorer, select the node representing your Web site.
2. Right-click, and then click Add New Item.
3. In the Add Item dialog box, click Web Configuration File, and then click Add.
4. You do not need to provide a name. The file must be named Web.config.
5. Add the following XML within the existing < system.web > element:
< ! — caching section group – – >
< caching >
< outputCacheSettings >
< outputCacheProfiles >
< add name="MyCache" enabled="true" duration="60" / >
< / outputCacheProfiles >
< / outputCacheSettings >
< / caching >
6. Save the file, and then close it.
7. Switch to the Web page, and then switch to Source view.
8. Change the OutputCache directive to read as follows:
< % @ OutputCache CacheProfile="MyCache" VaryByParam="none" % >
9. Press CTRL+F5 to run the page.
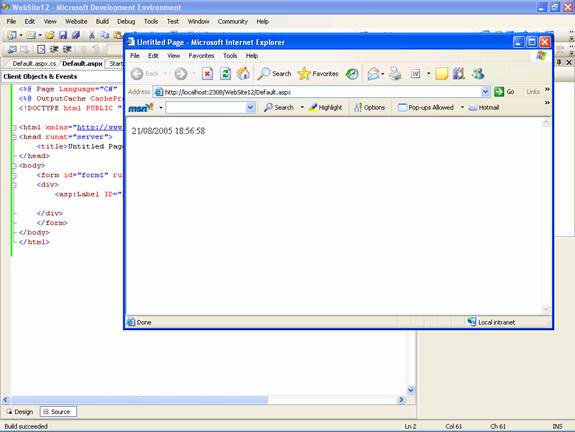
10. Refresh the page a number of times.
11. This time the date will remain the same for the duration specified in the cache profile, which is 60 seconds.
Using Parameter-Level Caching
Complex web environments demand that the cache parameters should be handled by the developer at design time. The querystring parameter or any other parameters can be set by the developer to vary the output from the cache at runtime. The Cache will store a copy of a page for each unique set of values that are passed to it in parameters of interest. It is possible to vary the output by the specified parameters or all the parameters.
For instance, if the developer wants to change the color of the background in response to a value entered by the end user, he will have to pass he necessary parameters as post data when the event is handled. The page will be regenerated and time will be updated. Any subsequent requests for the same color will result in the cached page being returned.
To cache based on parameters
1. In Visual Web Developer, open or switch to the page you have been working on.
2. Switch to Design view.
3. Drag a TextBox control to the page next to the label you placed earlier, and set its ID to Color.
4. Drag a Button control to the page next to the TextBox control, leaving the default name of Button1.
5. Change the Text property of the button to read "Change Color".
6. Double-click the Button control.
7. Visual Web Developer will automatically create a method to handle the Click event for Button1.
8. Within the method, add the following highlighted code:
………..void Button1_Click(Object sender, System.EventArgs e)
………..{
………………….Label1.BackColor = System.Drawing.Color.FromName(Color.Text);
………..}
9. Switch to Source view.
10. Replace the OutputCache declaration beneath the < % page % > declaration with the following version:
< % @ OutputCache Location="Server" Duration="60" VaryByParam="Color" % >
11. Press CTRL+F5 to rerun the page.
12. When the page loads, enter a color such as red or blue in TextBox, and then click Change Color.
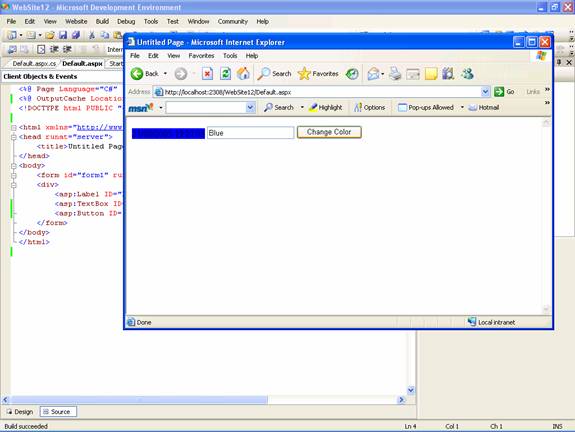
13. Note that after the color specification has been made, the Color changes but the time display does not. This is because the duration for changing the time has not expired while the page is being fetched from the Cache. Each new color will be treated as a unique set of values in the cache.
14. Refresh the page a number of times.
State Management in ASP.NET 2.0 comes with a number of enhancements while the underlying architecture remains the same. The new session and cache features have obviously been Microsoft’s response to user requests. The abstraction of the Cache dependency mechanism helps developers write custom invalidation mechanisms with ease. It improves application performance and response time for the end user and is a boon all round.
[catlist id=179].