Installing a Second Copy of SQL Server 2005
Multiple instances of SQL Server are supported by SQL Server 2005. Previous versions of SQL Servers can also be upgraded to SQL Server 2005. In this section we shall see how to install a second copy of SQL Server 2005. A little later in this tutorial we shall examine how existing versions of SQL Server can be upgraded.
If a version of SQL Server already exists on the computer, the second copy will be installed as a named instance.
Insert the DVD into the drive and the Installation wizard will guide you through the installation.
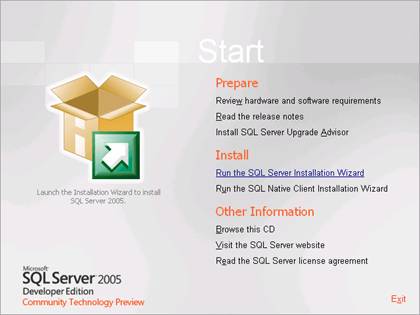
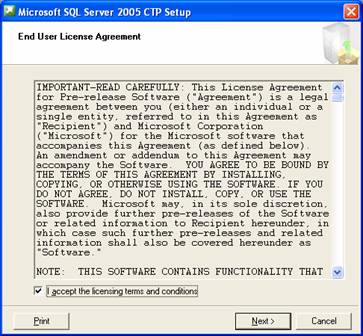
The first screen that pops up is the End user license agreement. Once the user accepts the license, the system check begins.
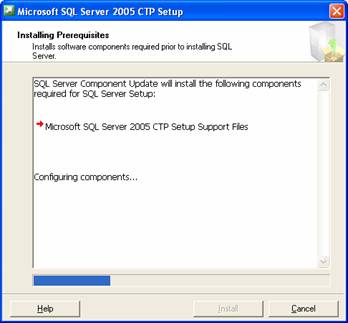
Microsoft SQL Server now checks whether the system has the software components required to run SQL Server. Since this is the second instance, all the required files are available and the wizard proceeds to install only the setup support files.
The Next step is the System configuration check. This step is used to examine the computer for potential configuration problems.
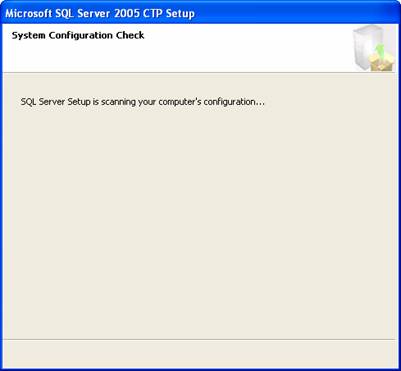
If configuration check reveals problems the setup is rolled back. Else the user is allowed to proceed with the installation. When the configuration check is successful, the first screen of the server installation wizard appears. The user has to click next to proceed.

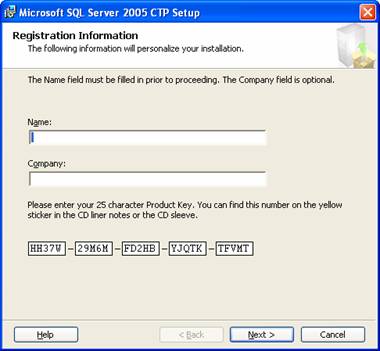
The registration information has to be entered. The Name field is compulsory.
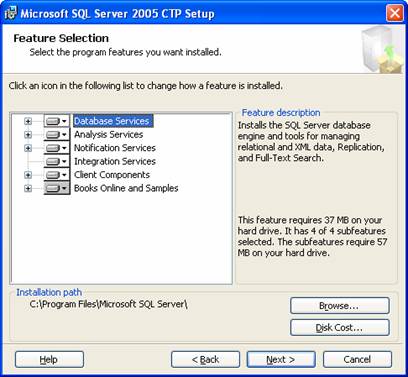
The next screen requires the user to enter the components that he wishes to install. The components selected are to be checked and the user has to click Next to install them.

The next screen displays the features selected by the user for installation and the drive space required by each of the components selected. The user has to confirm that he wishes to install the components and that he has the requisite drive space by clicking Next.
Since a default instance already exits in the system a named instance is being installed. Select Named instance and assign a name to it. Here we have named it Exforsys. If you want to see the other instances installed on the system click on Installed instances or click Next.

In the system on which the second instance is being installed, Analysis Services and SQL Server have been already installed.

If the SQL server is being upgraded from an earlier version or a side by side installation is being done, the user is required to specify whether he wants to upgrade the existing versions or let them remain as they are.
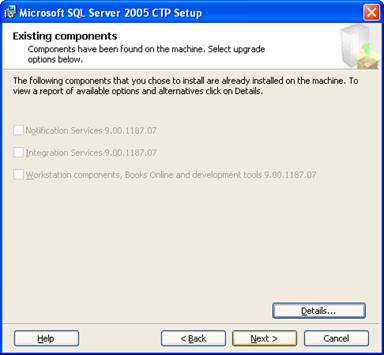
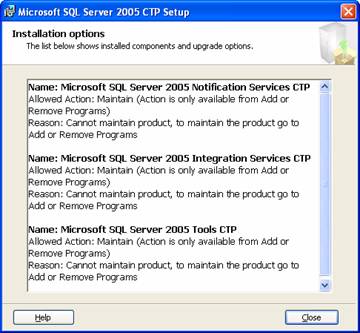
The next screen displays the installed components and upgrade options. The user is informed that for maintaining the product he must access Add/Remove programs.
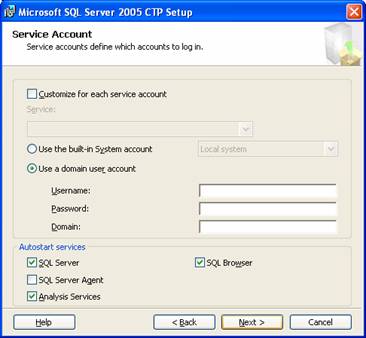
The next step is the specification of the service accounts to log in. The user can select the built in system or user domain account.
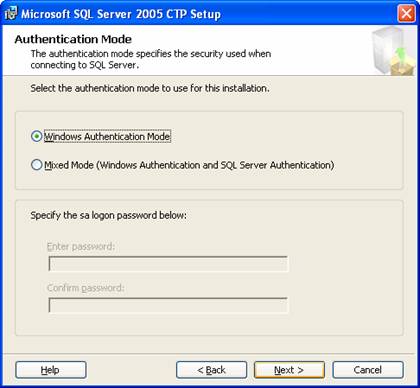
The next screen asks the user select the Authentication mode. He can select the Windows Authentication mode or the mixed mode for this installation.
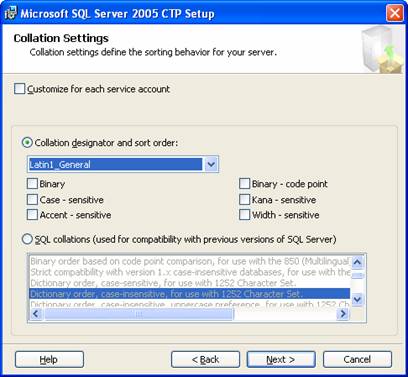
The wizard now asks the user specify the collation settings. A number of collation options are available. The collation designator and sort order and SQL collations have to be indicated.
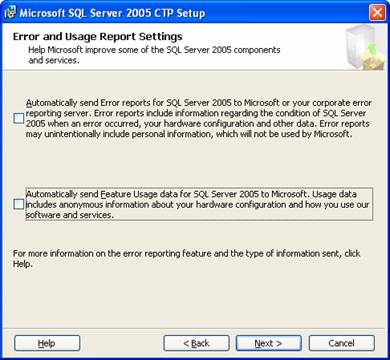
The user can now specify the error and usage report settings. He can choose to send the reports to Microsoft or not.
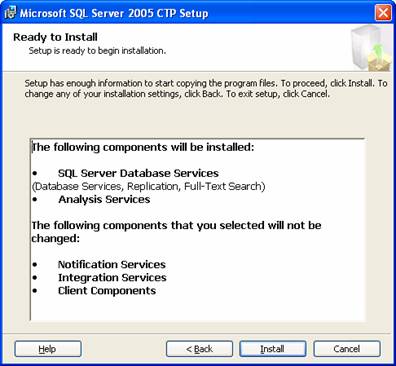
Now that all the settings have been specified, SQL Server is ready to install the components selected. The user is informed that all the selected components will be installed and changes to any of the components as specified will be carried out.
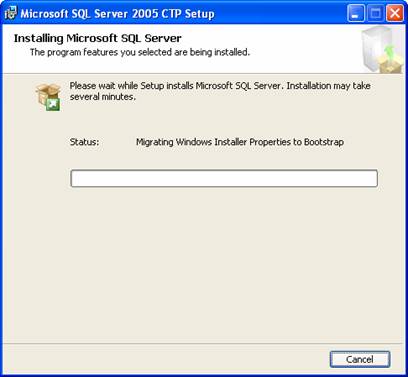
The next screen displays a progress bar while the Setup wizard migrates the Windows Installer properties to Bootstrap.
The required components are then configured and requested changes are carried out.
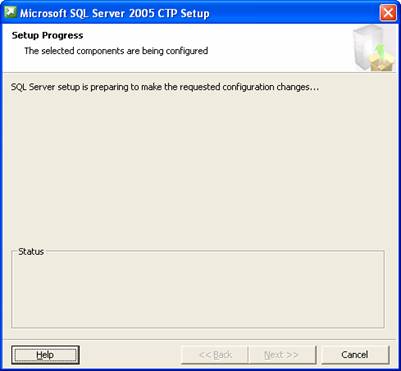
The next screen displays the progress on the setup of each of the items selected. An arrow indicates that the configuration of components is underway and a tick mark indicates the completion of the setup.

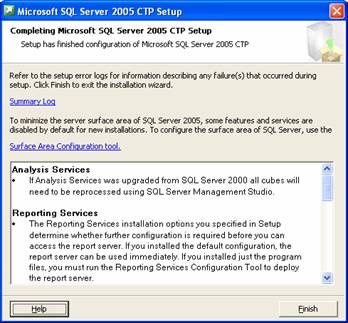
The next screen displays a summary log. If an upgradation from an earlier version has been undertaken the user is informed that all the cubes in Analysis services will have to be reprocessed. The reporting services will require further configurations depending on the options specified at installation and so on…Click Finish to complete the installation.
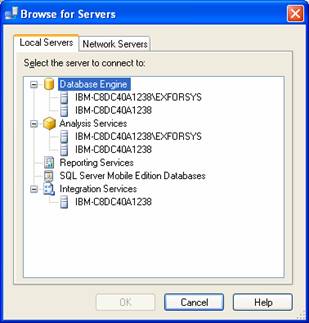
Now login to the named instance Exforsys and browse the servers installed to select the sever you need to log in to!
In this lesson we have explored side by side installations of SQL Server. In the sections that follow we shall examine how to upgrade from earlier versions of the server.
[catlist id=178].