SQL Server 2005 – Registered Servers
Registered servers can be viewed in the Registered servers window. Servers can be created and registered, renamed or removed in the SQL Server Management Studio. Information on frequently accessed servers will be stored in the Management Studio on Registration.
To Register a server
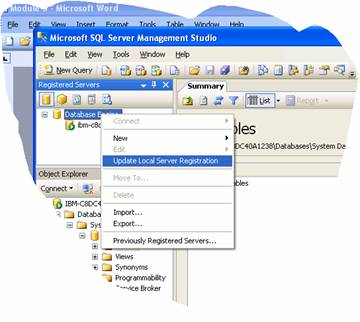
Right click a node in the Registered Server’s Tree and click Update Local Server Registration. This updates the local server registration.
If a new server has to be created and registered
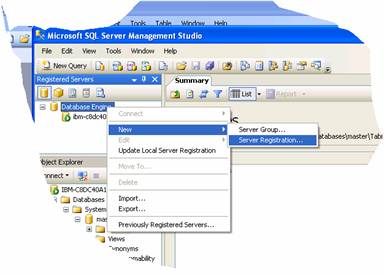
1. Click Database Engine in the Registered Servers tool bar
2. Right click Microsoft SQL Servers and point to New and then click Server Registration
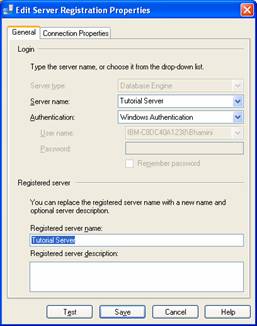
3. In the Registration Dialog box, click on General Tab and enter the name in the Server Name text box. If it is a named instance type the name in the format server_name[\instance_name]. In this illustration we have assumed that we want to create a server named Tutorial Server.
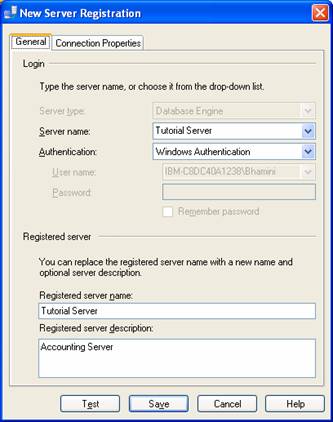
4. Under Authentication accept Windows authentication or select SQL Server Authentication and fill in the username and password.
5. Note that the Registered server name is automatically filled in. You can enter a brief description of the server in the text box provided for the purpose.
6. The connection properties information is optional at the time of registering the server.
7. To accept the default connection properties click on Save.
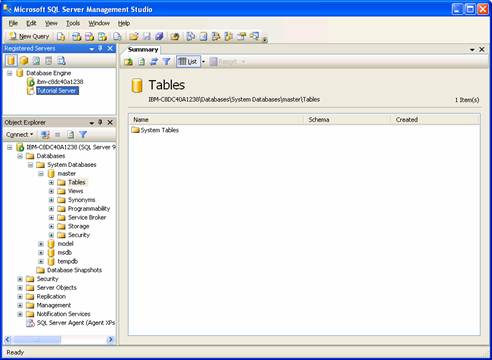
8. Note that the registered server appears in the registered servers list.
A registered server can be removed by right clicking the server and clicking delete. A delete confirmation box appears. Click Yes to delete the server.
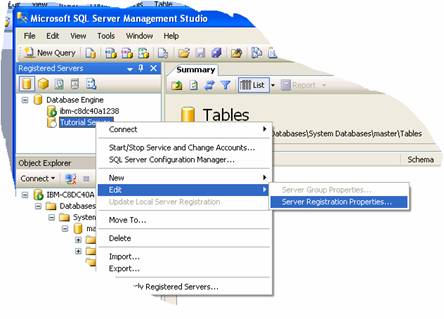
It must be noted that the name of the server can be changed at any time and a change of name does not impact on connection properties. The name can be changed by right clicking the server and pointing to Edit and then clicking Server Registration Properties.